How to extract AC3 5.1 6ch audio from AVI and convert to stereo MP3 file
This guide describes how to extract AC3 6ch 5.1 audio stream from AVI file and convert it to 2 channels stereo MP3 file
These free tools will be needed to download and install for our task :
1. VirtualdubMOD
Download VirtualdubMOD
2. Eac3to
Download Eac3to
3. CDex (1.70 beta 4) or later
Download CDex
After downloading and installing please unzip eac3to any dir, such as "D:\Distr\eac3to\", then run VirtualdubMOD firstly to accept license agreement.
Our test file to convert will be:
Movie_1_3_DVDR.avi
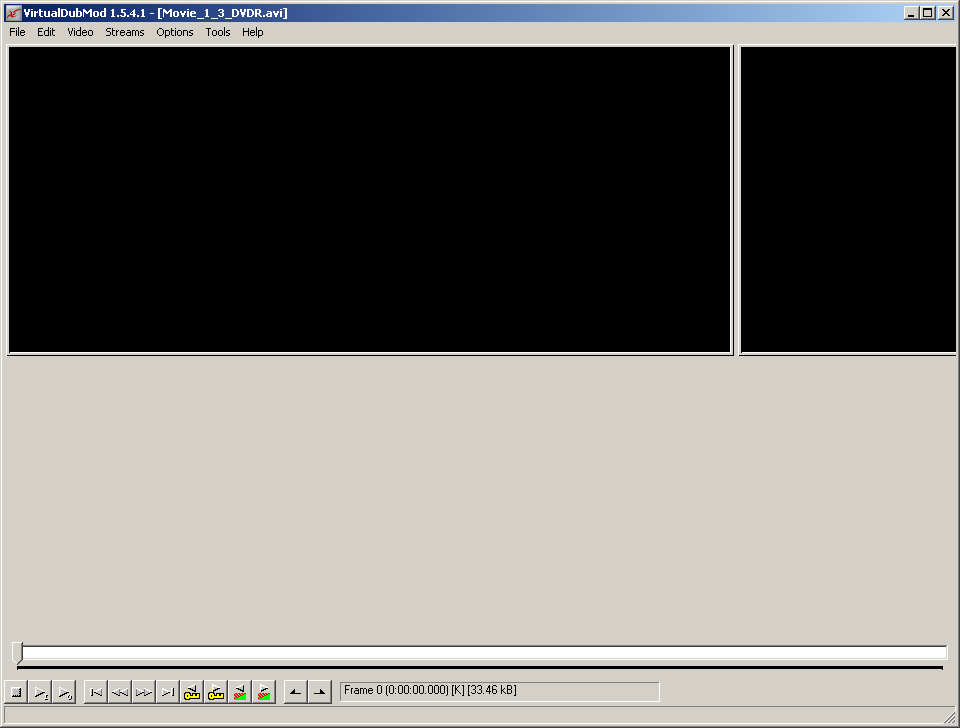
2. Select from "File" menu - "File Information...", and remember Audio Stream Sample Rate - in our sample it is 48000Hz, as shown with red arrow:

3. Select from "Streams" menu - "Stream list", a new "Available streams" window will appear, in our Movie_1_3_DVDR.avi sample is only single AC3 stream available, in other files could be 2 streams in AVI container. Please select the AC3 5.1 stream you need and press "Demux" button:
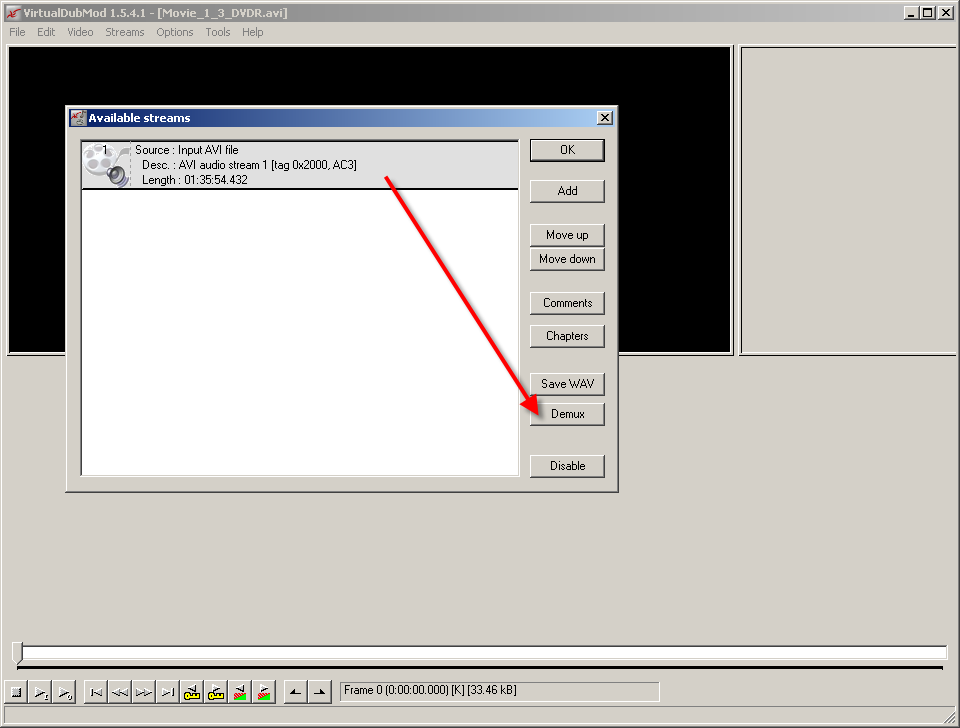
Let the output folder for the AC3 5.1 stream will be "D:\Video\" and a new filename will be "6ch.ac3". After the demuxing we will find the "6ch.ac3" file in the output folder "D:\Video\". Please close VirtualDubMOD application.
4. Please download ac3_6ch_to_wav_2ch_eac3to.bat file to run AC3 6 channels Audio Downmixing To 2 Channels Stereo WAV file with Eac3to. Open "Notepad" to edit this bat file, which consists:
D:\Distr\eac3to\eac3to.exe D:\Video\6ch.ac3 D:\Video\2ch.wav -down2 -mixlfe -down16
where:
D:\Distr\eac3to\eac3to.exe - full path to eac3to application
D:\Video\6ch.ac3 - full path to source AC3 6 channels audio file for downmixing
D:\Video\2ch.wav - full path to the output 2 channels stereo WAV file
"-down2 -mixlfe -down16" - options required for stereo downmixing
Please change full paths for eac3to application, AC3 source and WAV output files if you need it, then save "ac3_6ch_to_wav_2ch_eac3to.bat" file changes and run this Batch file.
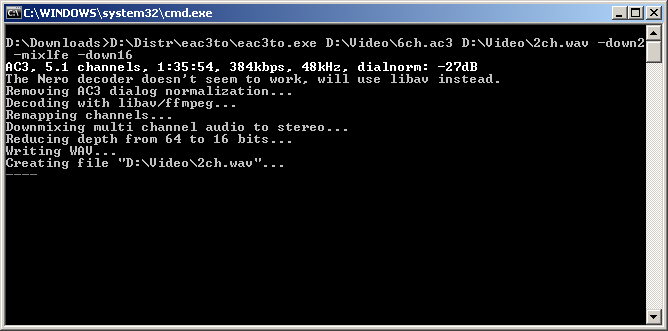
After downmixing Eac3to will show such kind of the log file, then press any key to close "cmd.exe" window.
Note: For 90 min AC3 file the resulting WAV file could be about 1.1 GB - please use disk drives with enough free space

5. Run CDex and press "Configure" button to change setting for CDex.
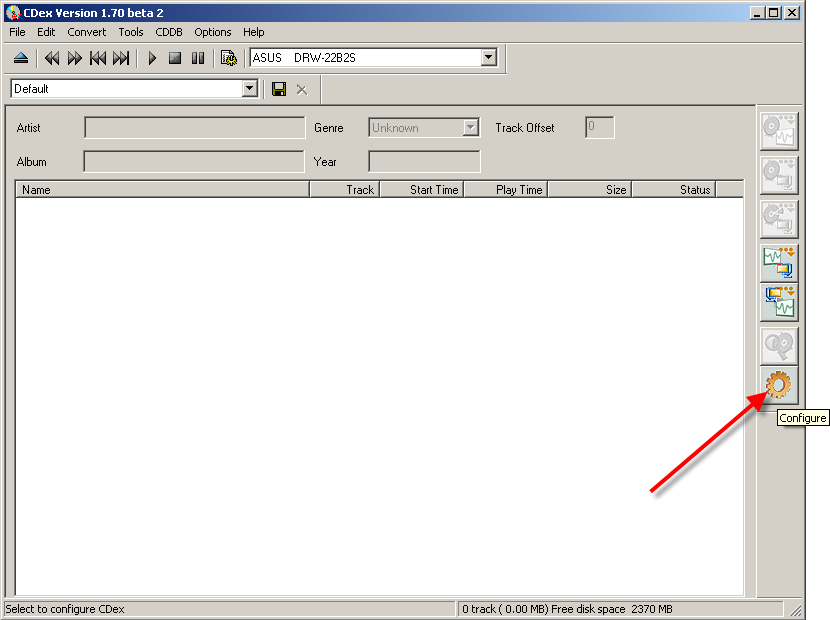
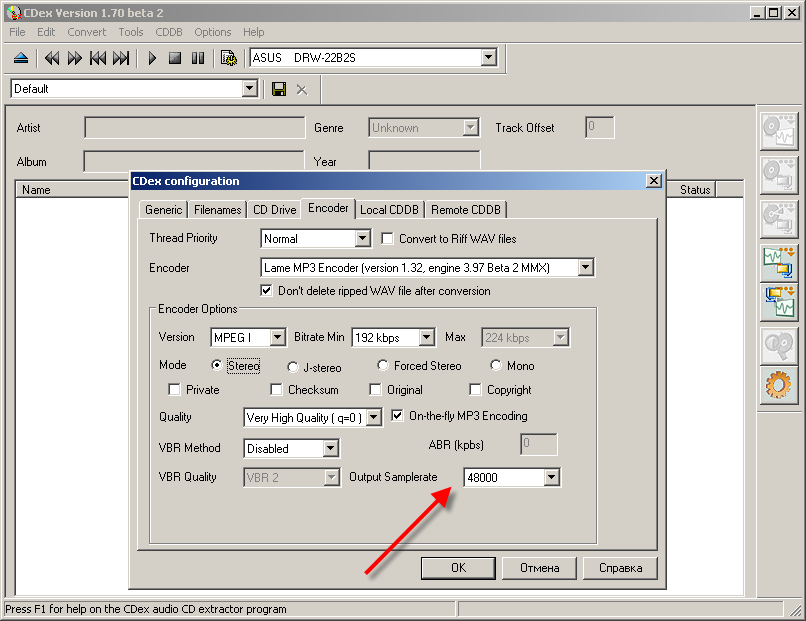
Change settings for the "Encoder" tab as shown or use VBR mode, another bitrate, quality settings, etc. for LAME MP3 Encoder in CDex, change "Output Samplerate" to 48000 as we remember at Step 2, then press OK.
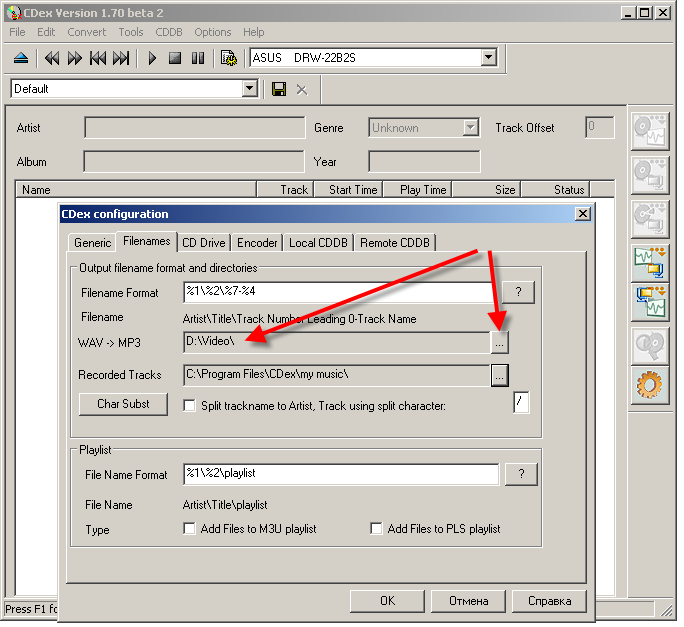
Change settings for the "Filenames" tab as shown - change "WAV -> MP3" directory to "D:\Video\", then press OK
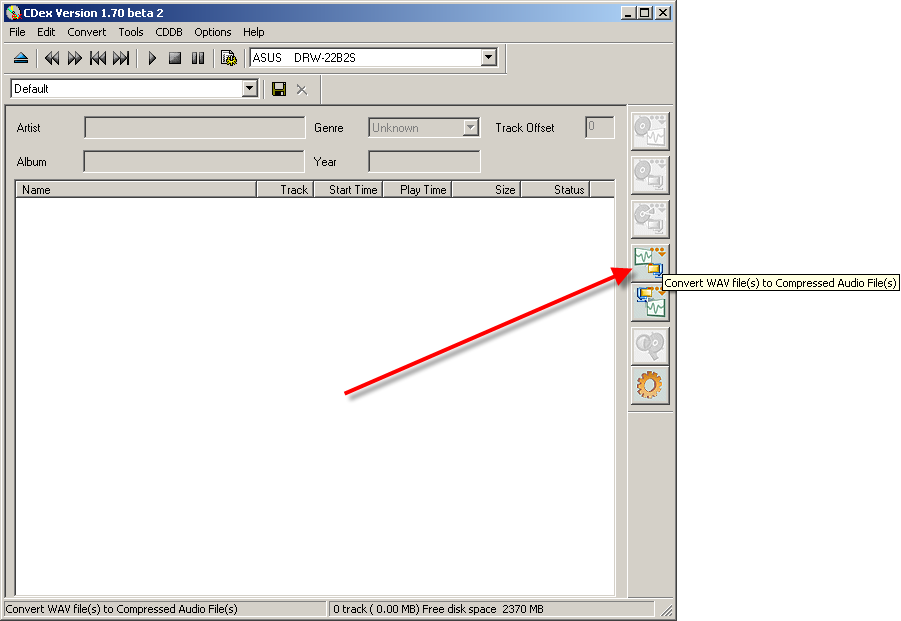
Press "Convert WAV file(s) to Compressed Audio File(s)" button to select a directory with source WAV file
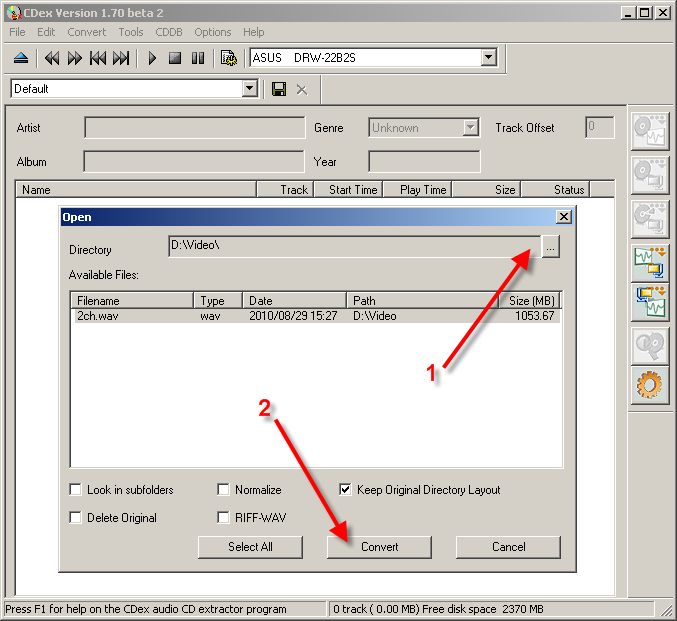
Change CDex Directory to "D:\Video\" using (1) button And Start WAV To MP3 Conversion using (2) button
The "File Conversion" window will appear, which informs us about conversion time.

After the conversion a new file "2ch.mp3" will be in the "D:\Video\" folder. This is the resulting file of our task.
To contact to the author of this guide, please send e-mail:
Aleksandr Ignatov